
This easy gluten-free oat bread is one of those recipes worth keeping on repeat. It’s made with just 4 simple ingredients, there’s no yeast, no oil, and no kneading involved — simply mix, rest, and bake.
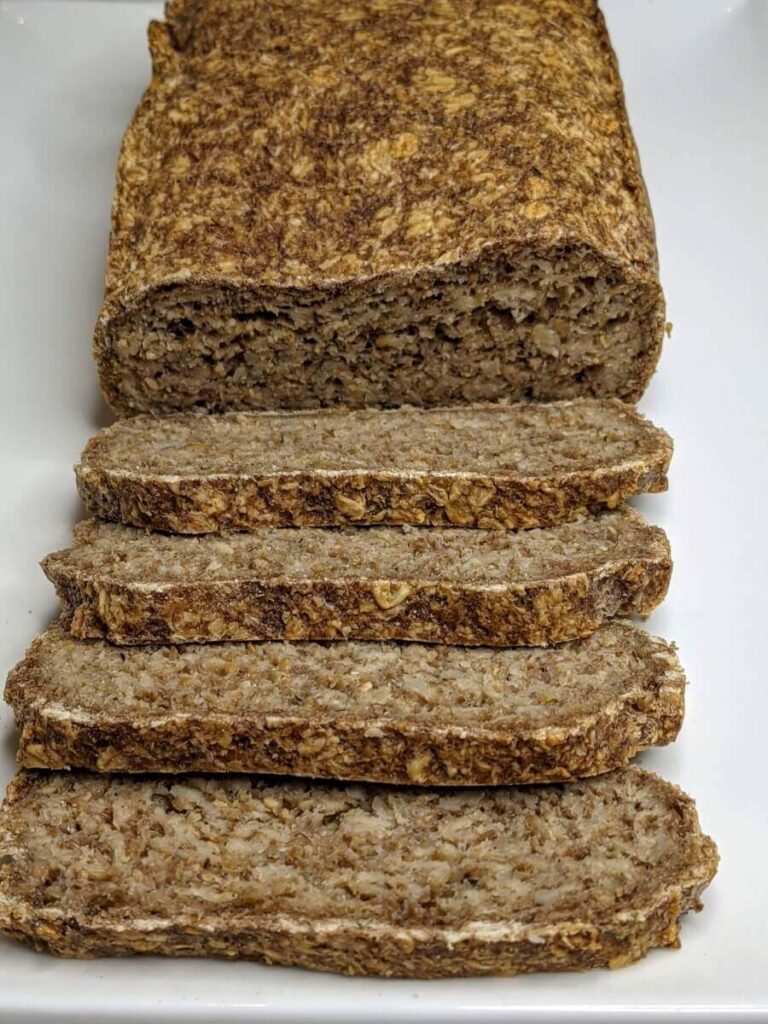
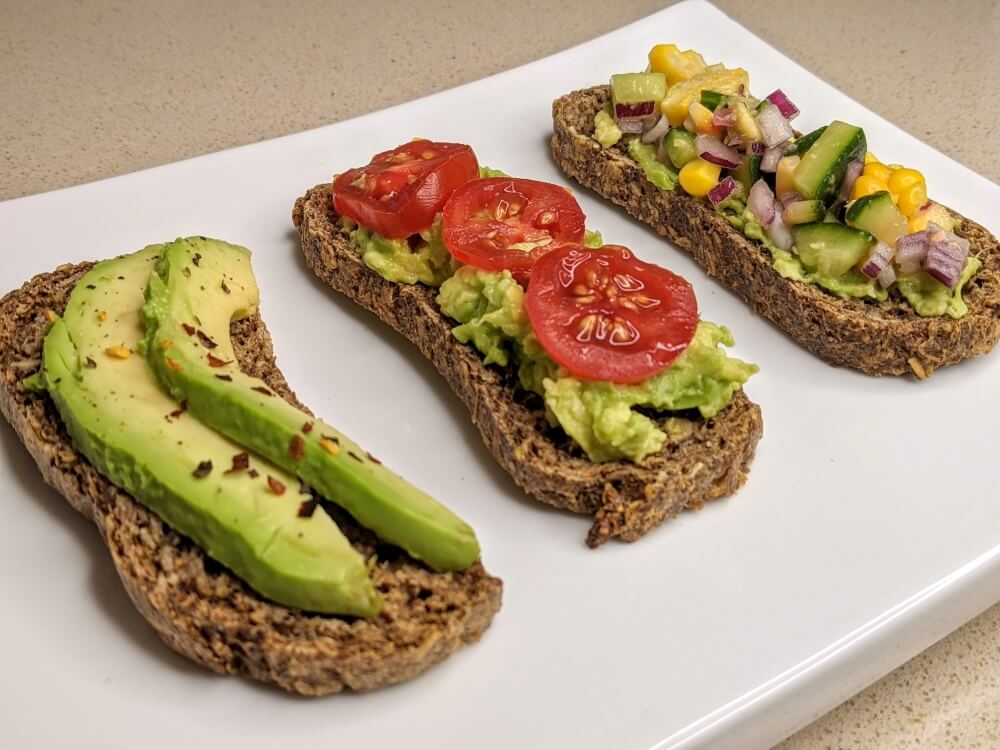
What makes it so versatile is the texture: moist on the inside with a lovely crunchy crust once toasted. It slices up beautifully for lunchbox sandwiches or a simple topped slice of toast, whether that’s vegemite, avocado, or your favourite spread.
Because it’s completely free from gluten, dairy, oil and yeast, it’s a wonderful option for anyone with specific dietary needs. It’s also a genuinely high-fibre bread, which makes it a great everyday choice for midlife women looking to support digestion and keep energy levels steady throughout the day.
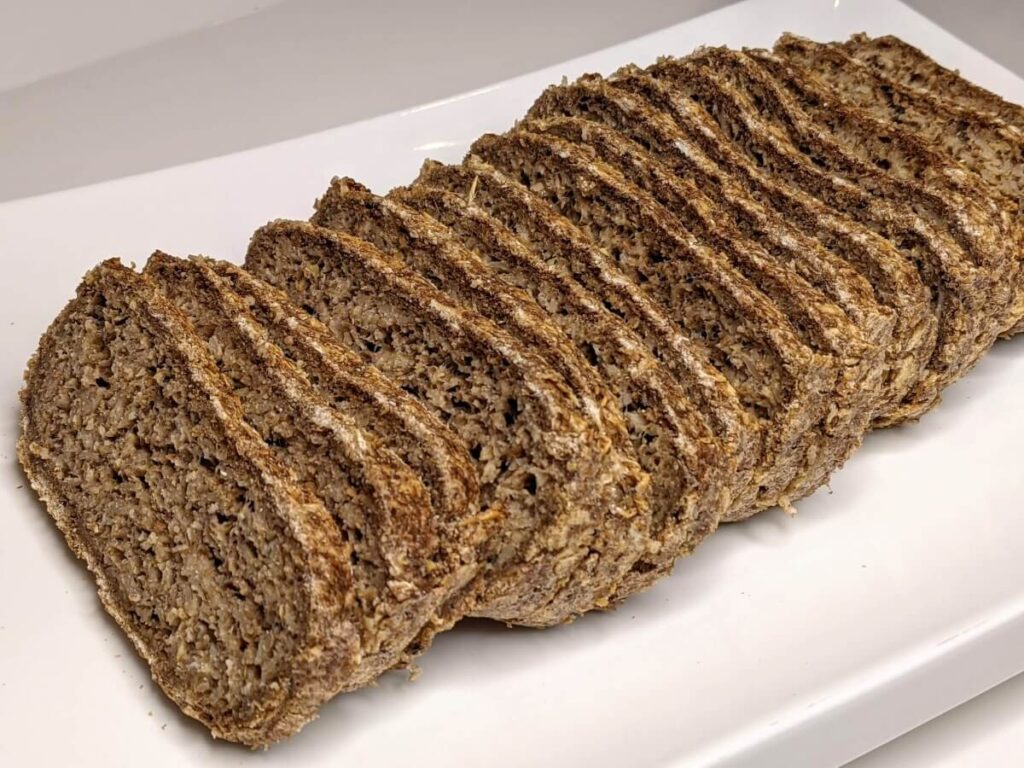
Why You’ll Love This Oat Bread
- Easy no-knead recipe
- Gluten-free, dairy-free, oil-free and yeast-free
- High in fibre
- Freezer friendly
- Made with just 4 wholesome ingredients
- Great for lunchboxes and toast
Gluten-Free Oat Bread Ingredients
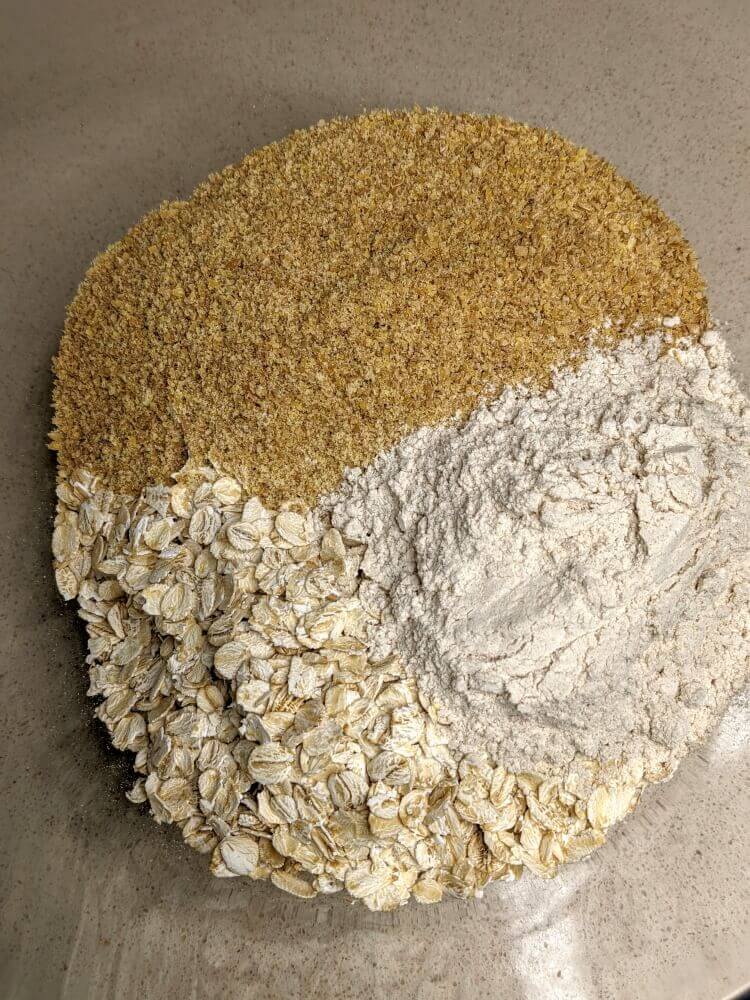
- Rolled Oats – A wonderful source of fibre and plant-based protein, rolled oats support digestive health and give this bread its hearty texture. They’re naturally gluten-free, though it’s best to use certified gluten-free oats if you have a gluten intolerance, as oats are often processed alongside gluten-containing grains.
- Ground Flaxseeds – Small but mighty, flaxseeds (also known as linseeds) are rich in omega-3 fatty acids, fibre and plant protein — nutrients that are especially supportive during midlife for heart and hormone health. Grinding them fresh helps the body absorb all the goodness they offer.
- Psyllium Husks – A gentle, bulk-forming fibre that supports regularity and a healthy gut. Digestion can naturally slow down during midlife, so psyllium’s prebiotic effect is a helpful, gentle way to keep things moving and nourish good gut bacteria.
- Water – The simple binder that brings this bread together. Filtered or boiled water is best if you’re wanting to reduce trace chemicals often found in tap water.
Tips for Making the Best Gluten-Free Oat Bread
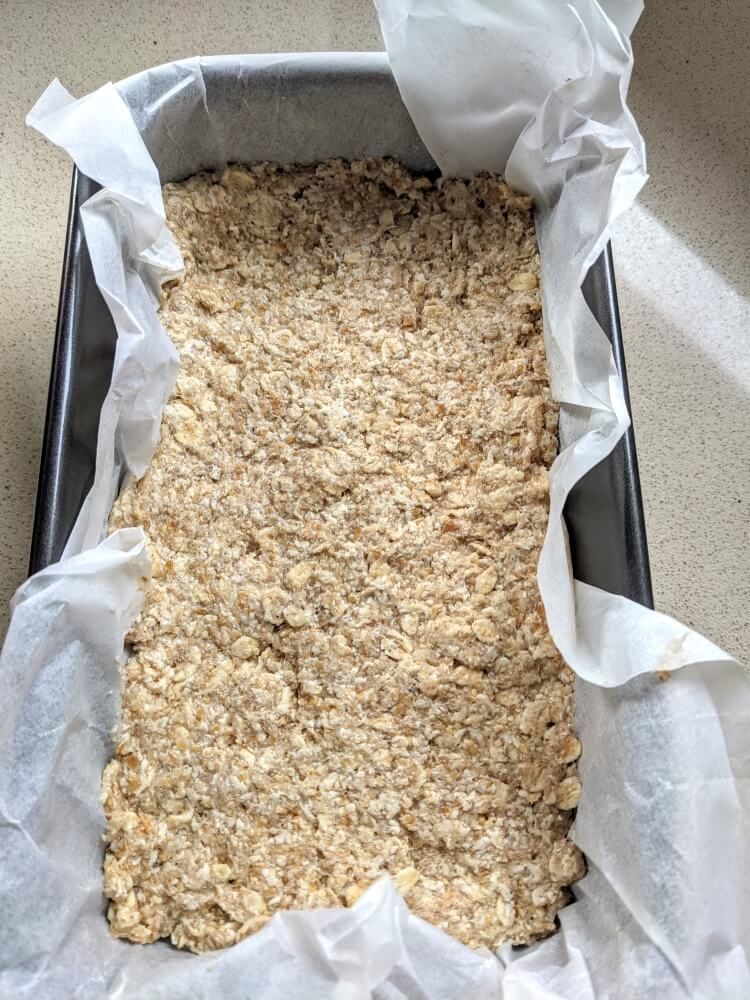
- Line your loaf tin with baking paper to avoid needing any oil.
- If the mixture feels too dry to combine, add an extra tablespoon of water.
- Let the mixture rest for at least 20 minutes before baking — 2 hours is even better if you have the time.
- You can prep the mixture the night before and leave it covered on the bench overnight, ready to bake in the morning.
- Bake, then flip the loaf upside down onto an oven rack for the second half of baking to crisp up the crust all over.
- The bread is ready when it feels firm to the touch. If it’s still soft on top, give it another 5–10 minutes.
- Let it cool completely before slicing for the cleanest cuts.
- To freeze: slice the cooled loaf, lay the slices in a single layer on a tray, and freeze until firm. Once frozen, transfer to a freezer bag or airtight container — this stops the slices sticking together so you can grab just what you need. Frozen slices keep well for up to 3 months and can go straight into the toaster, no thawing required.
Variations to Try
This bread is easy to make your own once you’ve got the base method down. A few simple swaps and add-ins:
Seed and grain swaps:
- Swap ground flaxseeds for ground chia seeds
- Add a tablespoon of sunflower or pumpkin seeds for extra crunch
- Stir in a spoonful of sesame seeds for a nuttier flavour
Flavour add-ins:
- A teaspoon of cinnamon for a warmer, slightly sweet loaf
- A pinch of sea salt and cracked pepper for a more savoury crust
- Finely chopped rosemary or dried herbs for a herby loaf that pairs well with soup
Texture tweaks:
- Add an extra tablespoon of psyllium husks for a firmer, denser slice
- Reduce the water slightly for a firmer texture if the loaf feels too soft after baking
- Add a tablespoon of extra water for a slightly softer crumb
Keep the core ratio of oats, flaxseed and psyllium the same, and simply adjust the extras to suit what’s on hand.
Perfect For
This gluten-free oat bread is perfect for:
- Lunchboxes
- Toast with your favourite toppings
- Meal prep
- High-fibre snacking, especially helpful for supporting digestion in midlife
- Freezer stocking for busy weeks
More Healthy Recipes
If you love this gluten-free oat bread, you might also enjoy:
- Healthy Homemade Granola
- Easy Banana Chocolate Chip Muffins
- Healthy Chocolate and Coconut Bliss Balls
- Vegetarian Pizza Scrolls
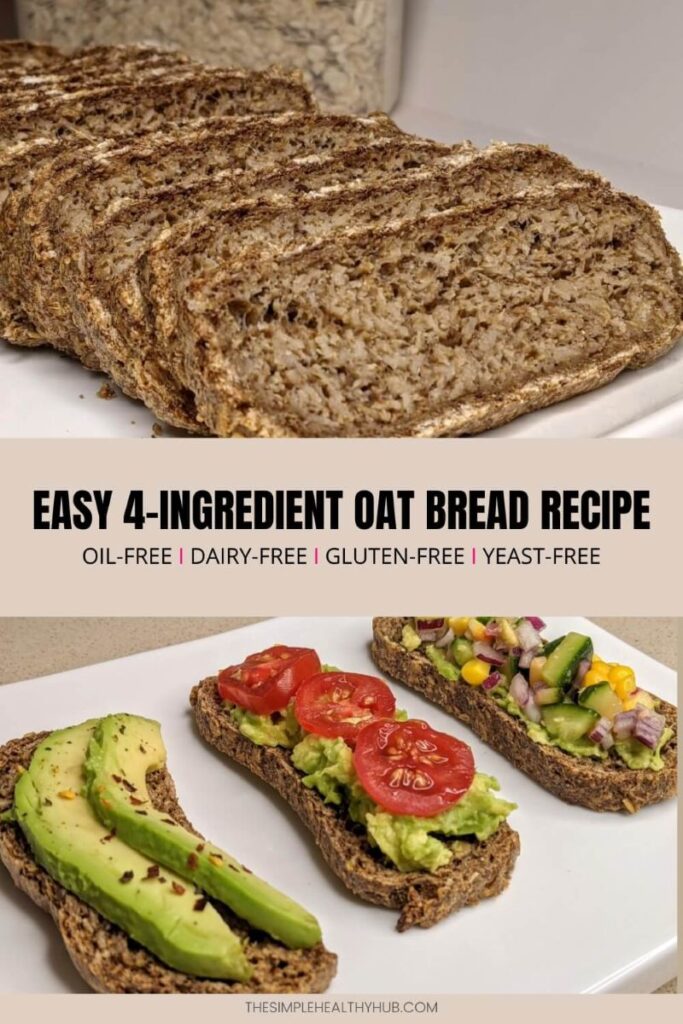
Easy 4-Ingredient Gluten-Free Oat Bread
Ingredients
Equipment
Method
- In a large bowl, combine the rolled oats, ground flaxseeds, and psyllium husks. Stir well.
- Pour in the water and mix until a thick, evenly combined dough forms. If too dry, add an extra tablespoon of water.
- Cover and let it rest for at least 20 minutes (up to 2 hours) to allow the psyllium and flax to bind.
- Line a loaf tin with baking paper.
- Press the mixture firmly into the tin, smoothing the top. Bake at 180°C (350°F) for 45 minutes.
- Carefully flip the loaf upside down onto an oven rack and bake a further 35-45 minutes to crisp the crust all over. You will know the bread is ready when it is firm to the touch. Note: If it still feels soft on top, bake for an extra 5-10 minutes.
- Remove from the oven and let the loaf cool fully on a wire rack before slicing.
- Slice thinly and store in an airtight container, or freeze in a single layer for the crunchiest toast later.
Notes
- Mixture can be prepped the night before and left covered on the bench overnight.
- Bread is done when firm to the touch — if still soft on top, bake an extra 5–10 minutes.
- Let the loaf cool completely before cutting for the cleanest slices.
- To freeze: Slice the cooled loaf into individual slices, then lay them in a single layer on a baking tray and freeze until firm (about 1–2 hours). Once frozen, transfer slices to a freezer bag or airtight container, separating layers with baking paper if needed. This stops them sticking together so you can grab slices one at a time.
- Frozen slices will keep well for up to 3 months.
- To enjoy, pop a frozen slice straight into the toaster — no need to thaw first.