
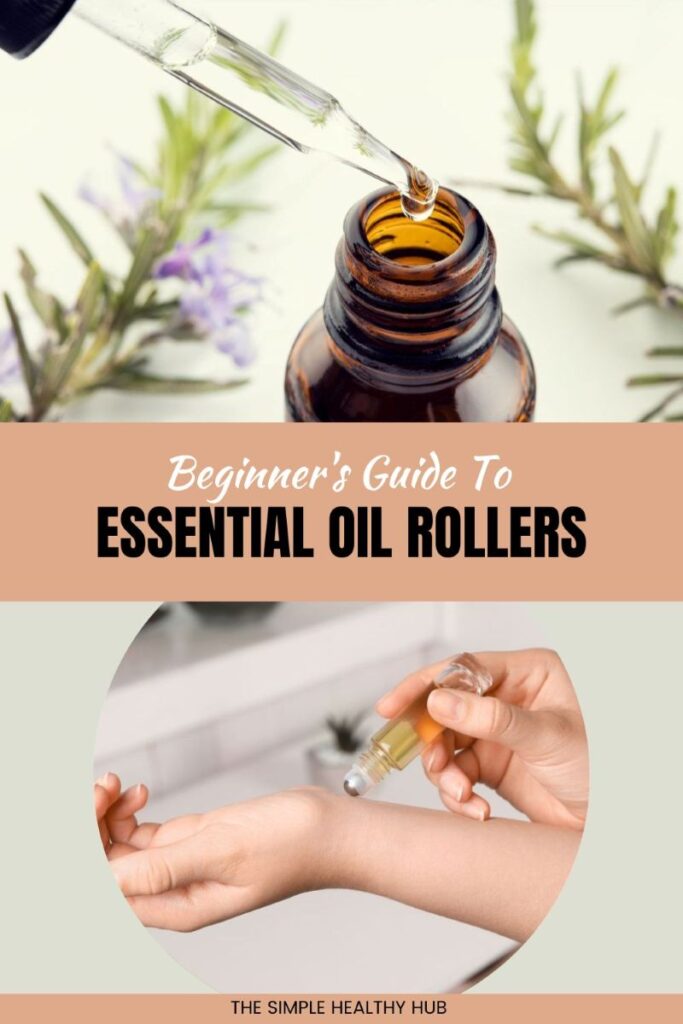
If you’ve been curious about essential oil rollers but aren’t quite sure where to start, you’re in the right place. This simple guide walks you through everything you need to know — from the benefits of using rollers, to how to make your very own at home.
What Are Essential Oil Rollers?
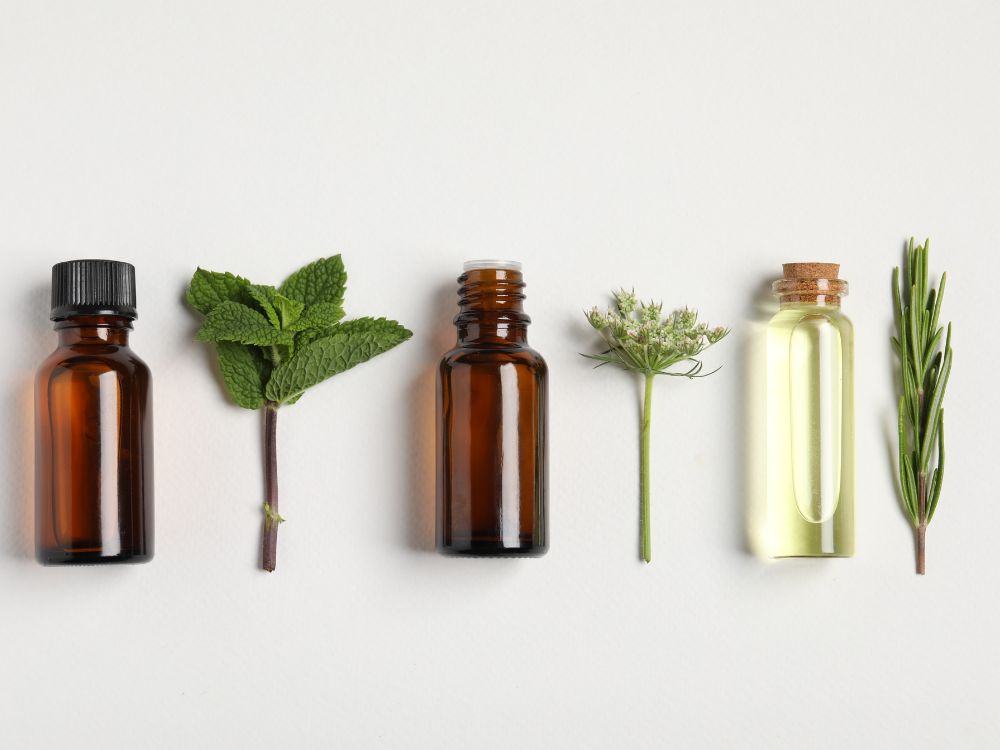
Essential oil rollers (also called roll-ons) are small bottles with a rolling ball applicator that allow you to apply a blend of essential oils directly to your skin. The oils inside are pre-diluted with a carrier oil, making them safe, convenient, and incredibly easy to use.
Once you start making your own, it’s hard to stop. A small collection of rollers can cover so many everyday wellness needs — headaches, stress, anxiety, sleep support, minor cuts and bites, and so much more.
Why Use an Essential Oil Roller?
There are lots of ways to enjoy essential oils — diffusers, steam inhalation, aromatherapy massage, bath soaks — but rollers have a special place in a natural living toolkit. Here’s why:
Aromatherapy on the go Rollers are compact enough to pop in your bag or keep in your desk drawer. When a headache creeps in or stress levels climb, you can roll and go — no diffuser required.
Targeted support for specific areas Our skin is permeable, meaning it absorbs much of what we put on it. Applying a roller directly to an area of concern — such as the temples for a headache or the abdomen for digestive discomfort — allows the oils to get to work quickly, often within minutes.
Cost-effective and simple to make Quality essential oils can be an investment, but the great news is that the majority of what goes into a roller is actually carrier oil — an affordable, easy-to-find ingredient. Once you’ve made a few rollers, you’ll realise just how far a small bottle of essential oil can go.
Simple enough for everyday use Making rollers takes just minutes, and once you have the basics down, you’ll find yourself creating rollers for all kinds of everyday wellness needs.
What You Need to Make Essential Oil Rollers
You only need three things to get started.
1. A Roller Bottle
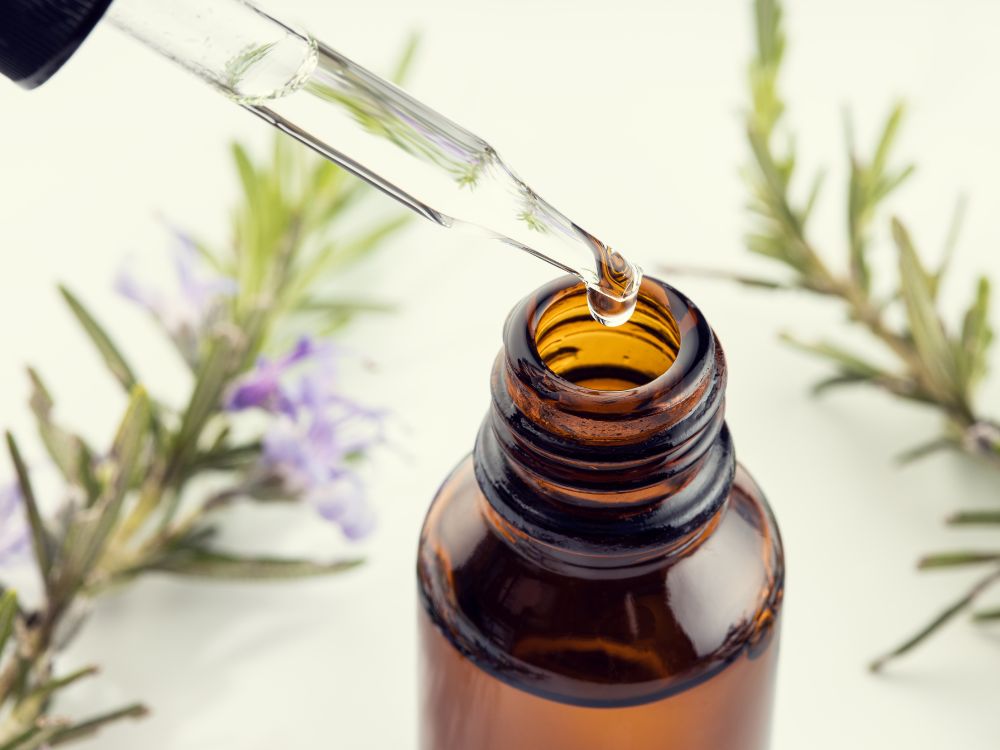
Roller bottles come in various sizes and colours. Because essential oils are sensitive to both light and heat, it’s important to choose:
- Dark-coloured glass (amber is the most common) to protect the oils from breaking down
- A stainless steel roller ball rather than plastic, which can degrade over time and react with the oils
The most popular and practical size is the 10 ml amber glass roller bottle with a stainless steel ball. It holds enough oil to last a good while, is easy to carry, and fits perfectly in a handbag or first aid kit.
2. A Carrier Oil
Essential oils are highly concentrated plant extracts and should never be applied directly to the skin without first being diluted in a carrier oil. A carrier oil also helps the blend absorb smoothly and evenly.
Fractionated Coconut Oil (FCO) is one of the most widely used carrier oils for rollers, and for good reason:
- Absorbs quickly without leaving a greasy residue
- Suitable for all skin types, including sensitive skin
- Stays liquid at room temperature (unlike regular coconut oil)
- Has a long shelf life and doesn’t require refrigeration
- Widely available at health food stores and online
Other excellent carrier oils to consider include jojoba oil (which closely mimics the skin’s natural sebum), sweet almond oil (light and nourishing), and rosehip oil (great for skin support). The best choice really depends on your personal preference and what you’ll be using the roller for.
3. Essential Oils
This is where things get fun. You can use a single oil or create your own blend, depending on what you need. Some popular choices include:
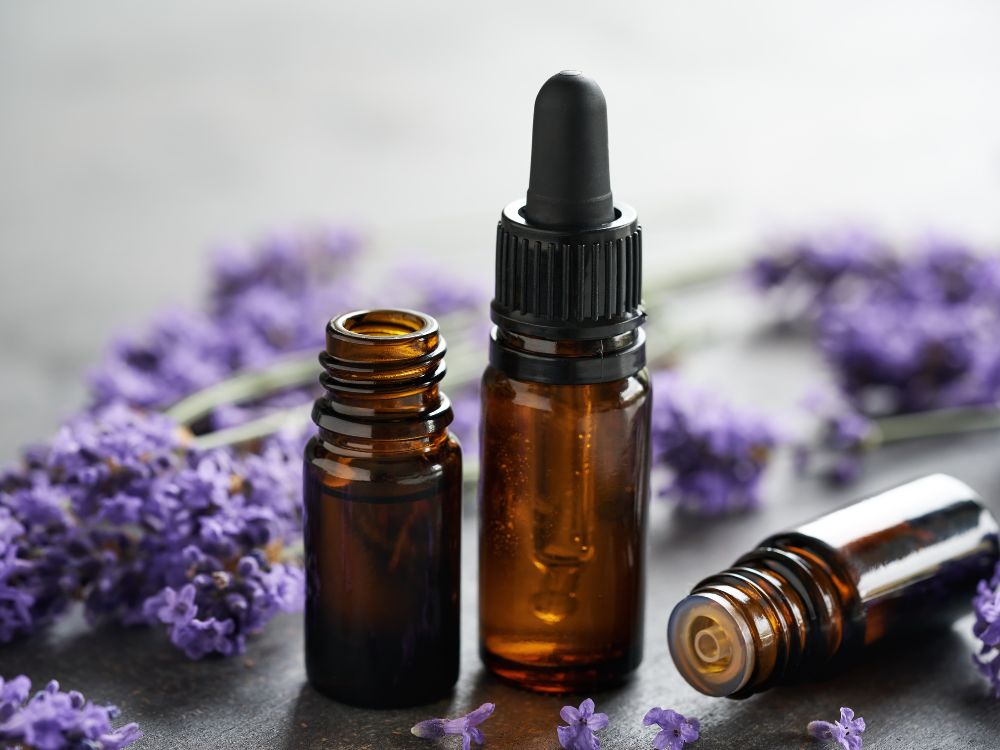
- Lavender — calming, soothing, great for minor skin irritations, sleep support
- Peppermint — cooling and refreshing, widely used for headache support
- Frankincense — grounding and deeply calming
- Tea Tree — cleansing, ideal for skin blemishes and minor cuts
- Chamomile — gentle and calming, wonderful for stress and sensitive skin
- Eucalyptus — clearing and refreshing, helpful when feeling congested
A note on oil quality: Not all essential oils are created equal, and this really does matter. When choosing an essential oil, look for brands that are transparent about their sourcing, use third-party GC/MS testing (Gas Chromatography/Mass Spectrometry), and clearly state that their oils are 100% pure with no synthetic additives or fillers. Many reputable brands will make their test results available to customers. Choosing a high-quality oil means you’re getting the full therapeutic benefit — and that it’s safer to use on your skin.
How to Dilute Essential Oils for Rollers
Essential oils must always be diluted before applying to the skin. The right dilution rate depends on three key factors:
The size of your bottle The most common sizes are 5 ml and 10 ml, with 10 ml being the most popular. A 10 ml bottle holds approximately 2 teaspoons of carrier oil.
How often you’ll use it
- 2% dilution — recommended for everyday use and general wellness
- 5–10% dilution — suitable for short-term, acute situations (such as a headache or temporary muscle tension) for less than two weeks at a time
The age of the user Children require much lower dilution rates than adults, and certain oils are not appropriate for young children at all. Always research age-appropriate guidelines when making rollers for kids, and avoid using essential oils on premature infants entirely.
As a general guide for a 10 ml roller bottle:
| Dilution | Drops of Essential Oil | Use Case |
|---|---|---|
| 2% | 6 drops | Daily use, general wellness |
| 5% | 15 drops | Acute, short-term support |
| 10% | 30 drops | Targeted, short-term use only |
Top up with carrier oil after adding your essential oils.
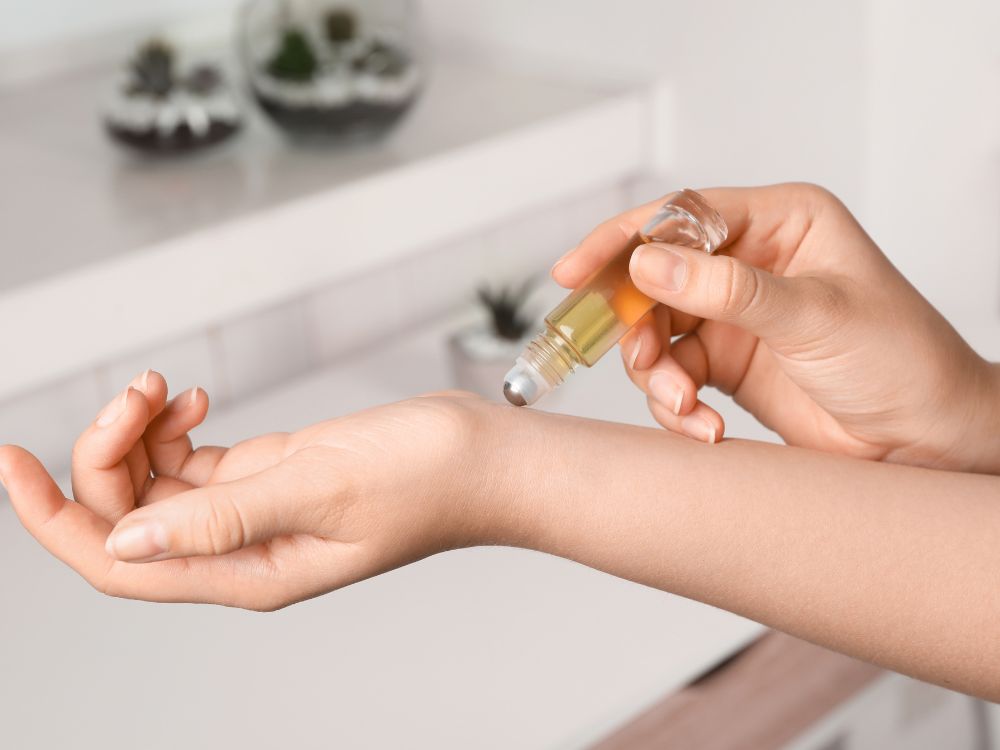
Where to Apply Your Essential Oil Roller
One of the best things about rollers is that they can be applied directly to wherever you need them — the temples for a headache, the abdomen for digestive discomfort, or the chest when you’re feeling congested.
For general wellbeing, the body’s pulse points are particularly effective spots to apply essential oil rollers. These are areas where blood vessels sit close to the surface of the skin, which helps the oils absorb efficiently and the scent to diffuse gently throughout the day. Key pulse points include:
- Neck (sides and back)
- Chest
- Inner wrists
- Inner elbows
- Behind the knees
- Ankles
Simply shake the bottle gently before each use, roll onto the skin, and breathe deeply.
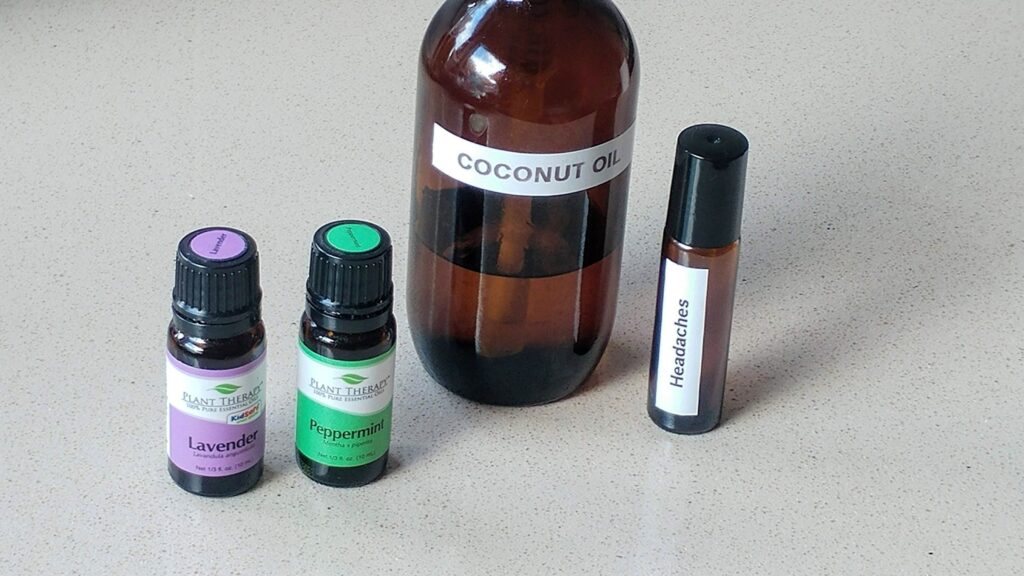
DIY Essential Oil Roller for Headaches
This is one of the most popular roller blends — and for good reason. Peppermint and lavender work beautifully together for headache support, with peppermint offering a cooling, clearing sensation and lavender bringing calming relief.
This recipe uses a 5% dilution, appropriate for short-term use.
What You’ll Need
- 10 ml amber glass roller bottle
- 10 drops peppermint essential oil
- 5 drops lavender essential oil
- Fractionated coconut oil (to fill)
Method
- Add the essential oil drops directly into the roller bottle
- Top up with fractionated coconut oil, leaving a small gap at the top
- Press the roller ball firmly into place
- Replace the cap and shake gently to combine
To use: Roll onto the temples, behind the ears, and across the back of the neck at the first sign of a headache. Breathe slowly and deeply as you apply.
Simple Tips for Getting Started
- Start with just one or two rollers and build your collection from there
- Label each bottle with the blend name and date made
- Store rollers in a cool, dark place — a small pouch or tin works perfectly
- Patch test a new blend on a small area of skin before using it more widely
- Rollers generally last 1–2 years if made with a stable carrier oil like fractionated coconut oil
Essential oil rollers are one of the simplest, most satisfying ways to bring a little natural wellness into your everyday life. Whether you’re supporting a headache, winding down before bed, or reaching for something calming in a stressful moment, having a roller on hand makes all the difference.
Have you tried making your own essential oil rollers? Share your favourite blends in the comments below — I’d love to hear what’s working for you!
DIY Essential Oil Headache Roller
What You’ll Need
Equipment
Method
- Add the peppermint and lavender essential oil drops directly into the roller bottle.
- Top up with fractionated coconut oil, leaving a small gap at the top.
- Press the roller ball firmly into place and replace the cap.
- Shake gently to combine.
- At the first sign of a headache, roll onto the temples, behind the ears, and across the back of the neck. Breathe slowly and deeply as you apply. Shake before each use.
Notes
- This recipe uses a 5% dilution rate, suitable for short-term use (less than 2 weeks at a time)
- For everyday use, reduce to a 2% dilution (6 drops total essential oil per 10 ml)
- Always use high-quality, 100% pure essential oils — look for brands that provide third-party GC/MS testing
- Not suitable for children under 6 years. Always use lower dilution rates and age-appropriate oils for children
- Avoid applying near the eyes or on broken skin
- Store in a cool, dark place. Use within 1–2 years